Showing posts with label snacks. Show all posts

Wednesday, February 23, 2011

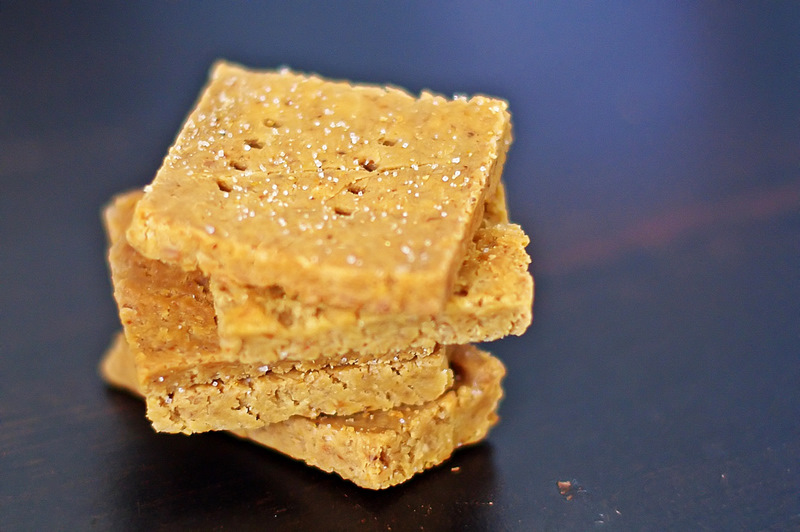
Chili crackers made with Quinoa


My taste testers modeled their snacks for me :)
So I was a little disappointed with the chili crackers I previously posted about, because the rice cooked a little hard and was a little to grainy for my teeth. So I went to the health food store Shirlyns, and found some rice flour, and Quinoa flower! The Quinoa flower is wheat/gluten free. Now, I am not very familiar with cooking gluten free, but my amazing cousin over at thepinkcowgirl.blogspot.com is a master at it, and she is so inspiring with her recipes! It makes me want to cook gluten free, just because its healthy, and its becoming necessary to a lot people now-a-days. :)
So I decided to try the crackers with the Quinoa flower. Success! My husband loved them so much, he made me take home a handful for himself from my parents house. The next day, he kept commenting on how they tasted like cheezits without the cheese and other chemicals you would find in the store bought ones. Best of all, my cute little nephew who is allergic to wheat could have them. They are just Qiunoa flower, almonds blended with olive oil, and a few spices and salt.
Again, the best way to go about these is to sprout the almonds and Quinoa first to get the ultimate nutritional value out of them :)
So cool! I just thought I would update on that :)

Sunday, February 20, 2011

Apple crumbly shortbread yum

I was craving shortbread. I had one stick of butter, and a can of apple pie filling. I know I need to make my own filling, but I couldn't waste the can in the pantry.
I thought about making an apple pie, but butter is so much better for you than crisco/shortening, so I decided to make make shortbread and put the apple stuff with it. Then I decided it would be yummy to make it crumbly :)

Shortbread:
1 1/4 cups of flour
1/2 cup butter
3 tbs of sugar

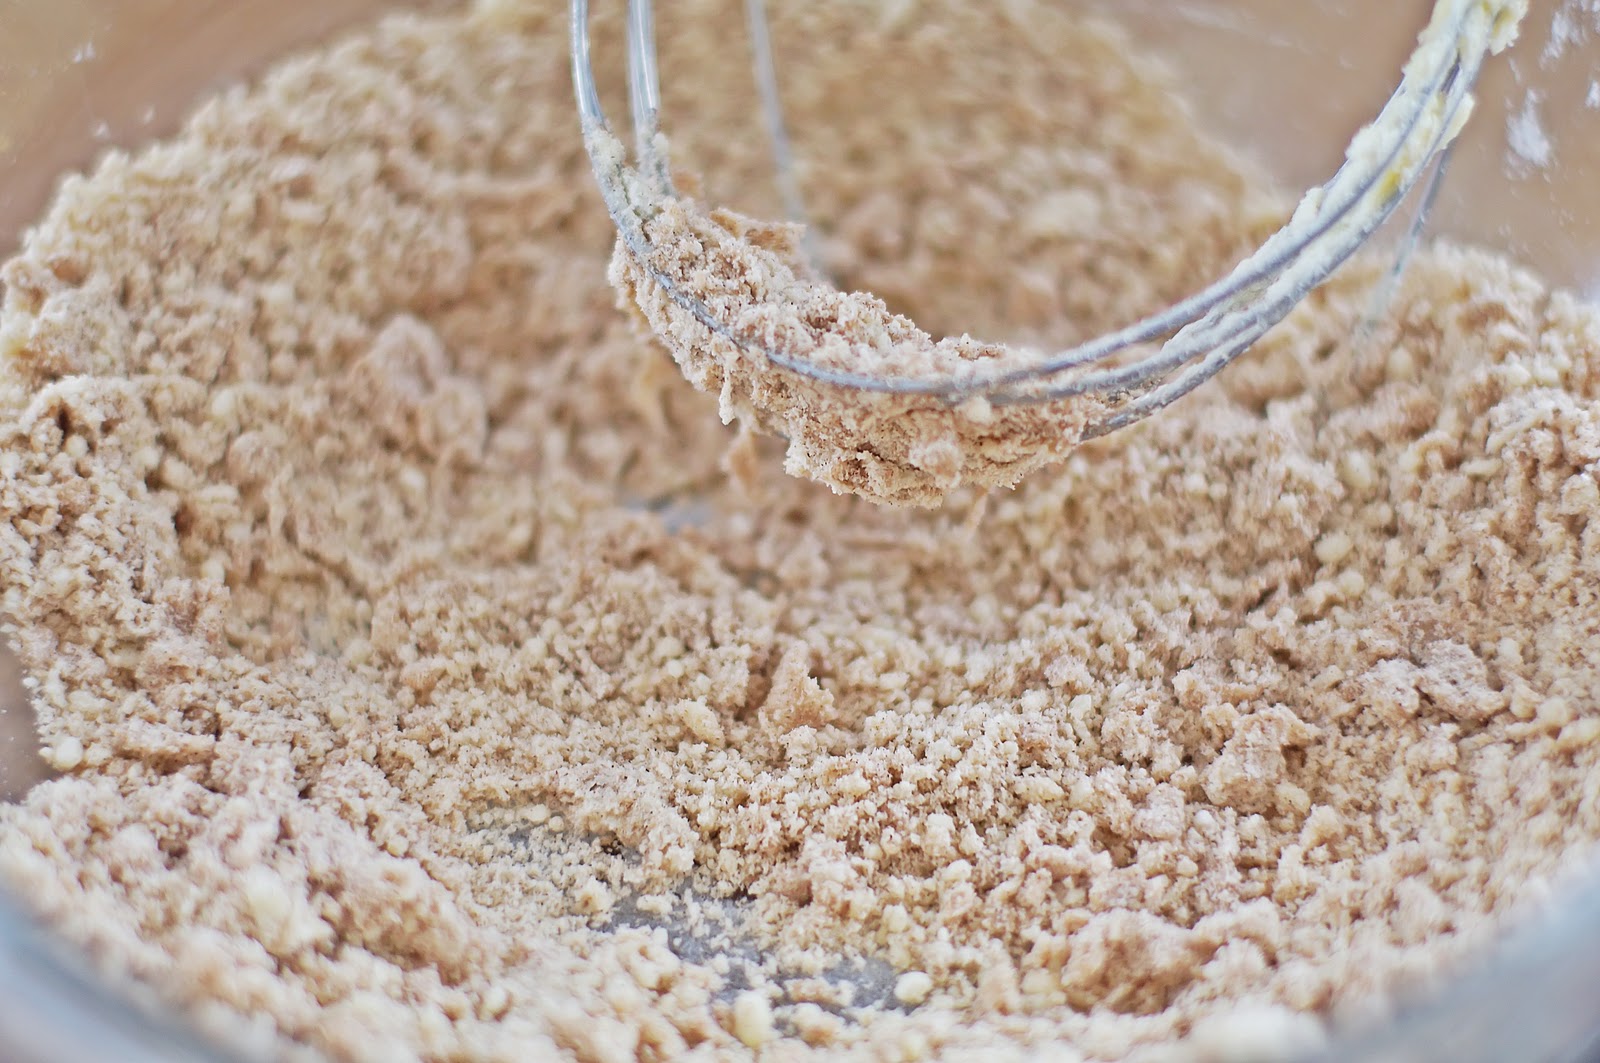
Mix the flour and the sugar together, then soften the butter just enough to cut through it easily. (Don't do what I did and melt it for 30 seconds in the microwave........it melted........all over.) Cut the butter into the flour and sugar with a pie thingy(sorry I forgot what it was called), like in my picture below, or a fork. Do not pack it together at all, make it as crumbly as possible, and mix the butter into all of it evenly. It should be slightly moist from the butter, mine wasn't because I lost a lot of butter in the microwave, so mine was slightly dry. But it still turned out good. Just remember if you get to much butter though, the crust wont stay together as well, and the same for to little butter.
take a 9 inch pan, and put a little more than half of the mix into the bottom, spread evenly and press slightly, so the crust will still be crumbly, but together, or if you like a more firm crust you can press it more.

Now add the pie filling, I actually wish I had more filling, the idea is to get the gooey part to kind of saturate the crust part. I sprinkled a tiny bit of water onto the syrupy part to help.

Now with the remaining crust crumbs, add 1/2 cup of sugar, some cinnimon and nutmeg if you want, and if its not real moist add a little bit more butter, mix it well, keeping the flour as crumbs

then sprinkle on top of the pie filling

so it looks like this......

taste tester #1 approves

taste tester #2, takes this stuff seriously

sprinkle a little sugar and cinnimon on top

Bake for 35 min. at 400*F
Then cool for 5 minutes, and serve! So Simple! So yummy! Next time I want to try Cherry, its my favorite. The only thing I wish I could have added to it is carmel sauce to drizzle on the bottom crust before adding the filling, and then a little on top too. :) I will post my invented carmel sauce with some carmel corn soon :) Its one of our favorite treats! 
           

Wednesday, February 16, 2011

Rice and Almond, Chili crackers invented recipe

I started out with a 16 oz bag of wild rice. I have never tried making rice flour in my kitchen champ before, so I didn't know if it would work or not, but it did! Blend your rice to a powder. Mine was still a little bit grainy, but that's actually good. It makes the crackers more crunchy. I added chili powder, paprika, salt, and garlic powder, and Thyme and mixed it with the flour well. I tasted the flower to make sure the flavor was good.
I forgot to get a picture of making the almond paste, but I just put a cup of almond, and a around a cup of water in my blender, and then started to blend it, when it started to get thick, I started to add olive oil, about 3/4 cup worth. Blended it until smooth creamy texture was acheived. 


after I mixed the rice flour and the almond paste, I kneaded it a little more with my hands to make sure all ingredients were mixed well. The oil in the almond paste helps the crackers cook.
taste tester #1................she approved
taste tester #2..............despite the look on her face, she approved too, and they both came back for seconds :)
I rolled it out onto a cook sheet
I wanted circles, so I used a lid from my Thyme spice container..........
I made some squares too, for fun........
then I tossed them into the oven, and cooked them for 43 minutes at 325* F. 

The verdict? Well, the flavor is delicious, the cracker is a tiny bit dry and reminds me of Chicken feed, but I can't stop eating them, so I guess that's a good thing. I am going to try again tomorrow actually. The almonds are much better, and more healthy for you when you soak them overnight. I am going to soak my rice too, so its not so hard. I also want to try this recipe with finely ground rice flour, with no big grains to avoid the chicken feed texture. hehe Definitely a recipe to try, but there are a few tweaks that need to be taken care of :) I will post when its perfected! As far as these particular crackers, I am going to use them for salad garnishments, and for when I get snacky :)


Friday, February 11, 2011

Add to the scones

I made scones again yesterday..........this may become a problem.........
  Plus I will be making them again on Monday, hmmmmmmmmm, sounds great.

Anyway, I did it again, I thought of a way to make these scones even more tasteful than my palette already thinks they are. And my husband contributed to the mess also.

Pizza, one of my downfalls. I like to make Pizza.
you will need the following:
Your scone dough rolled out
1 tbs of pizza sauce per pizza pocket
a cup of shredded mozzerella
pepperoni if you would like
sliced jalapenos
olives of your choice
whatever else you like on a pizza

or apple pie filling (my husbands idea, shame on him)

here is a link to a great apple pie filling http://www.myhomecooking.net/apple-pie/apple-pie-filling.htm
I would make up my own, but I haven't tried it yet, so I don't want to lead you astray. :)

slice dough with a knife or pizza cutter into rectangles about 3x6 or however wide you want your pizza pocket.
layer ingredients like a pizza on half of the rectangle, and sauce on all of the rectangle. Make sure you leave1/4 of an inch of edge to pinch the dough closed.
Or if you are making apple pie goodness, layer your filling on one half. 
Fold over the top half of the rectangle with only the sauce on it, and pinch the edges closed.
Now fry like a scone, and be careful to not get holes in the crust while frying to make sure filling doesn't come out into the oil.
You can also, slather the outside of the uncooked pizza pocket with olive oil, and cook it in the oven at 400, for about 12 minutes, and watch carefully so they wont burn.
There ya go, easy pizza. Or Apple goodness
You can top the apple goodness with a glaze or butter.
Just don't eat them to often, because this recipe does not belong on a weight watchers website...............hehe
Pictures soon to come..........(which means I might be making some for dinner tonight)

Wednesday, February 9, 2011

Valentine Scones

I made these the other day and plan on making them again for Valentines day coming up.
2 1/2 to 3 cups of bread flour
1 tsp stevia or 2 tsp sugar
1 tbs baking powder
1 tsp salt
1 1/3 cups water or milk. (I like water, I never cook with dairy milk)
olive oil to fry in

Combine dry ingredients and mix well, then slowly mix in water. When dough is to much to stir, start to knead it until it is all mixed well, add more flour if it is to sticky, but don't let it get to dry. Let it sit for 30 minutes.

After 30 minutes, roll dough out to 1/4 inch or less, the thinner the better before it gets holes in it. :)
Prepare your frying pan with oil at medium high heat
Now cut with a heart shaped cookie cutter, and place heart dough in oil. Turn when the bottom side starts to get golden brown, then remove from oil when both sides are golden and puffed up.
After you take it out while its still hot you can lay it in a bowl of sugar and cinnamon and coat each side, or decorate it with frosting when it cools, or just eat it with honey, or salsa, or any scone toppings. :)
Yum.